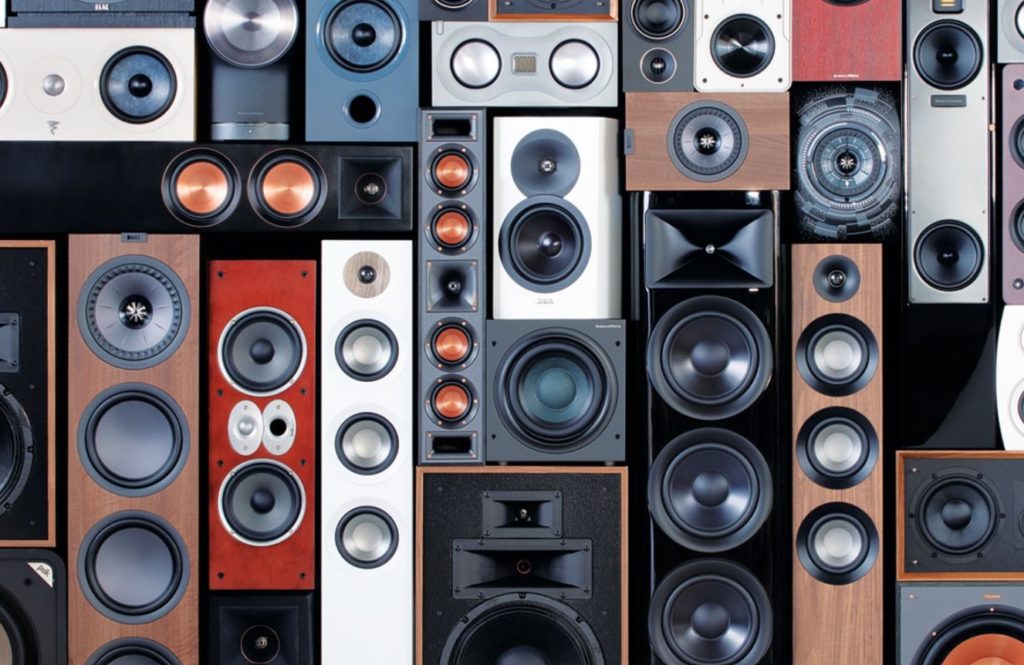
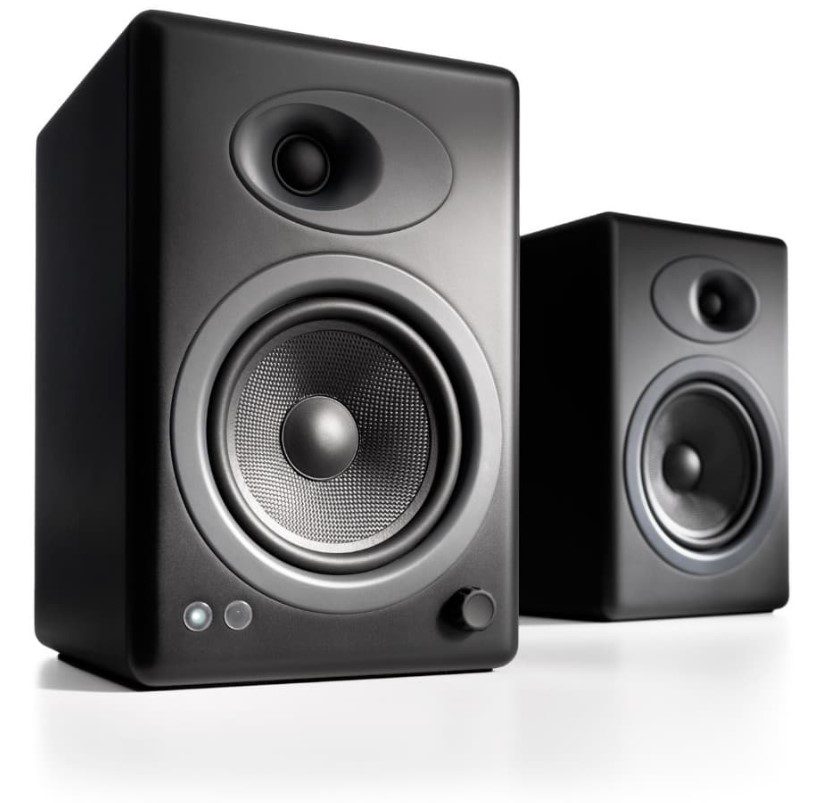
It is not uncommon that in everyday life we encounter a breakdown of the speakers. This is usually referred to as the “burning” of the speakers. In this article, we will figure out why speakers burn out and how it can be fixed.
You may also like: 5 Top Microphones for Public Speaking (small audience)
For what reason do the speakers burn out?
Speakers of acoustic systems receive two types of damage during operation: – thermal damage (overheating or hypothermia of the acoustic system) or mechanical damage (mechanical injury to equipment). Let’s consider all possible cases.
You may also like: 9 Best XLR audio-cables for microphones
Overheating of the speaker system and overheating of the speakers:
- One of the most common causes is a malfunction of the sound amplifier. In this case, the sound amplifier will emit high-frequency sound vibrations. You may not even notice the malfunction of the device, but the sound coil will fail soon enough (due to severe overheating).
- Another common cause of the breakdown is listening to music with high–level bass content (it is recommended to listen to such audio tracks using special equipment).
- The speaker may also burn out due to excessive rocking due to the rumble of the vinyl player
- Speakers may burn out as a result of feedback in the low-frequency region
- The speakers may break due to a malfunction of the moving part of the woofer. Malfunction of the moving part of the woofer leads to displacement of the axis of the sound coil and its wear due to friction. In very neglected cases, the coil is able to fly out of the gap (and this already requires more serious repairs.
Mechanical damage to the speaker system:
- Destruction of the mobile system as a result of mechanical damage
- The jumped-off turn of the sound coil
- Jammed dust cap
- Debris entering the magnetic gap
- Other damage to both the external housing and the components of the speaker system as a result of careless handling of equipment.
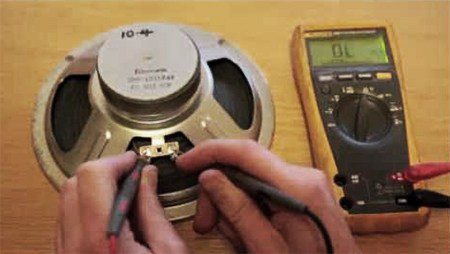
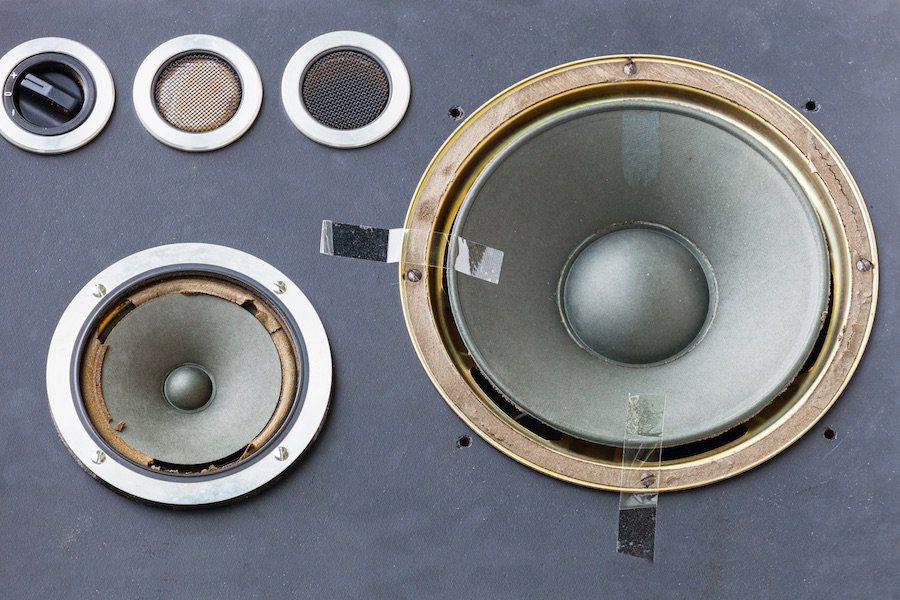
In order to eliminate the malfunction of the speaker, you first need to find the cause of the malfunction. To do this, you need to disassemble the speaker. How to disassemble the speaker:
- Solder the flexible lead wires. Then, with a solvent, using a game or awl, moisten the places where the dust cap and diffuser are glued together.
- Next, use the same needle or an awl with a solvent to smear along the perimeter of the place where the washer and diffuser are glued together. After, similarly, to miss the places of gluing the diffuser itself with the basket of the diffuser holder. In this state, the speaker should be left for fifteen minutes. Periodically re-coat the previously indicated places with solvent.
Attention! Be sure to observe safety measures and be careful when working with the solvent. Do not allow the composition to get on the skin of your hands and face. Wear protective equipment (gloves)
- Depending on the type of solvent you are using and the air temperature, after about ten to fifteen minutes, pry the dust cap and remove it from the device. If the hood resists during removal, repeat the procedure of wetting the parts with solvent.
- After removing the cap, remove excess solvent and glue residues with a dry cloth.
- Remove the centering washer in the same way. If the part does not give in – do not apply force! It is better to repeat the procedure of wetting the part with a solvent.
- Thus, you need to peel off all the components of the speaker from each other. After you separate all the parts you need to remove the old glue. Dry the components of the speaker in a ventilated room.
- Now you can carefully examine the components of the speaker in troubleshooting. Inspect the attachment points of the wires, the integrity of the coil, the integrity of the moving part of the speaker, the integrity of the dust cap.
We will tell you how to fix this or that breakdown a little later, and now we will tell you how to assemble the speaker back.
You may also like: 10 Best microphone cases & bags
How to put the speaker together:
- It is necessary to assemble the speaker in the reverse order – insert the diffuser into the holder basket, the diffuser must be centered and observe the same gap from the edge.
- Glue all the elements together.
- Next, you need to leave the speaker upside down under the press for several hours.
- Glue the washer and solder the wires.
- Now, before use, wait for the glue to dry completely (this is about a day)
- The main thing during assembly is the utmost accuracy! Often during this process, you can solder the wires or fill the speaker with glue. We recommend carefully applying glue with a needle or awl, without haste.
How to fix a blown coil:
- Unlike mechanical damage, the best solution for the serviceability of overheating damage is simply to prevent them. Read the instructions and recommendations for the operation of your speaker, try to follow them.
- So, how to fix a blown coil? The best solution to this problem is to rewind the burnt coil. To do this, you need to wind the burnt coil winding from the frame.
- Next, you need to count the number of turns and pick up a wire of the same thickness. Carefully wind the prepared wire coil to coil on the frame of the sound coil. Before winding, the first turn must be secured with a thread (at the end of the process, the thread must be carefully removed).
- After winding, the coil must be impregnated with a special glue and solder the terminals to the contacts. For soldering, it is best to use rosin.
Now let’s figure out how to deal with mechanical damage.
How to repair a leapt coil from a coil:
- Solder the flexible wiring and impregnate the place where the diffuser is glued to the diffuser holder with solvent. Carefully (it is impossible to tear off the part with force in any case) remove the diffuser
- Slide the coils into place and secure with epoxy glue.
- Now assemble everything in reverse order.
Make sure that the glue does not get on the housing and parts of the speaker. It should be only at the joints of the parts.
You may also like: 5 Best Audio-Technica microphones
How to straighten a crumpled dust cap:
- Moisten the perimeter of the cap gluing with solvent abundantly and disconnect the part.
- Slightly moisten the cap with distilled water and clamp it in a vice (having previously selected a punch and a matrix of a suitable shape under the cap)
- Keep the cap in the vise for several days. After that, treat the inside of the hood with a thin layer of epoxy glue. Allow the glue to dry completely (it may take about two or more days)
How to remove debris from the magnetic gap:
- Extremely often, various debris gets into the gap of the speaker – dust, sawdust, dirt. Such a trifle can cause serious harm to the speakers, but it is easy to eliminate.
- All you need is a piece of scotch tape. Run adhesive tape or a piece of duct tape along the gap. You can wrap the adhesive tape with the sticky side out on the needle and use it to clean the gap.
It is quite possible to fix the speaker at home. But there are situations when it is difficult to cope on your own. In such cases, we recommend that you contact the service.