Podcasts are audio programs, serials or blogs that you can download or listen to online. And in order to get a high-quality podcast you need to get a high-quality microphone, and sometimes even 2 of them.
In the following article, we will tell you how to set up multiple microphones for podcast.
You may also like: 7 Best microphone stands
Here are some ways to add microphones:
Step 1
Get a device where you can connect several microphones at once – a sound card or a recorder
The external sound card performs the same functions as the integrated or internal, but with the ability to quickly connect to any computer, including no expansion slot. It is usually a remote box with a USB cable to the computer.
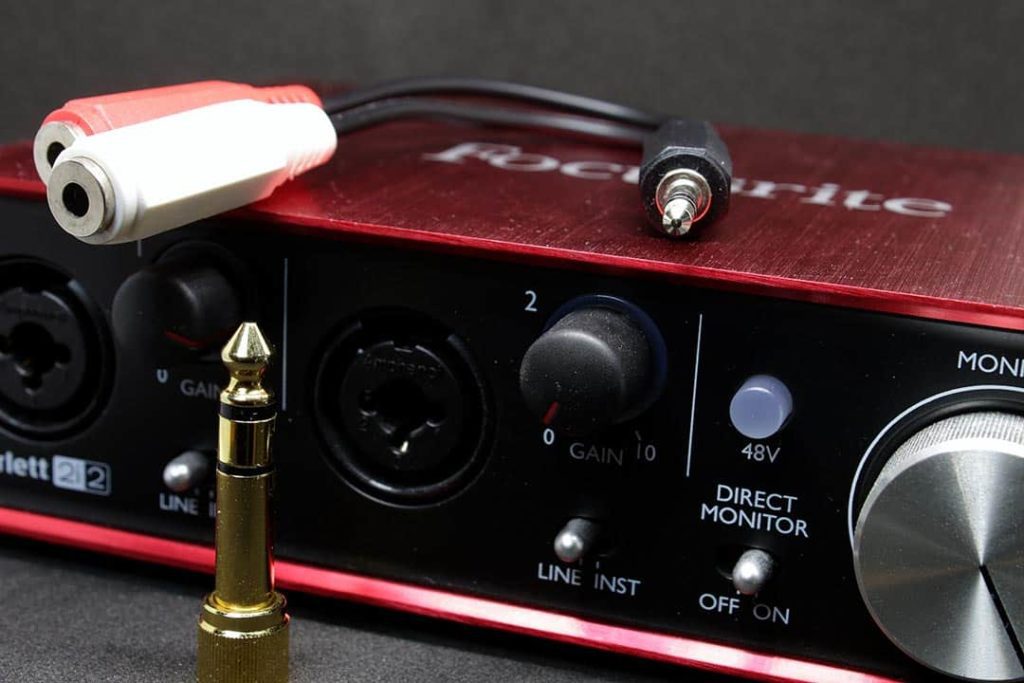
Audio connectors (inputs and outputs) are usually located on the front and back of the sound card, while the controls are located on the front.
Once the card has been found, you will need to install drivers for it.
- You need to manually remove old drivers (so that there is no overlap between different versions of drivers from different manufacturers and cards).
- In order to install new drivers, you just need to insert the disk that was attached to the map.
- After you have started the installation process, you should follow all the instructions in the wizard and after you have finished rebooting the system.
If the sound did not appear, then the reason could be both in the map itself and incorrect installation of drivers.
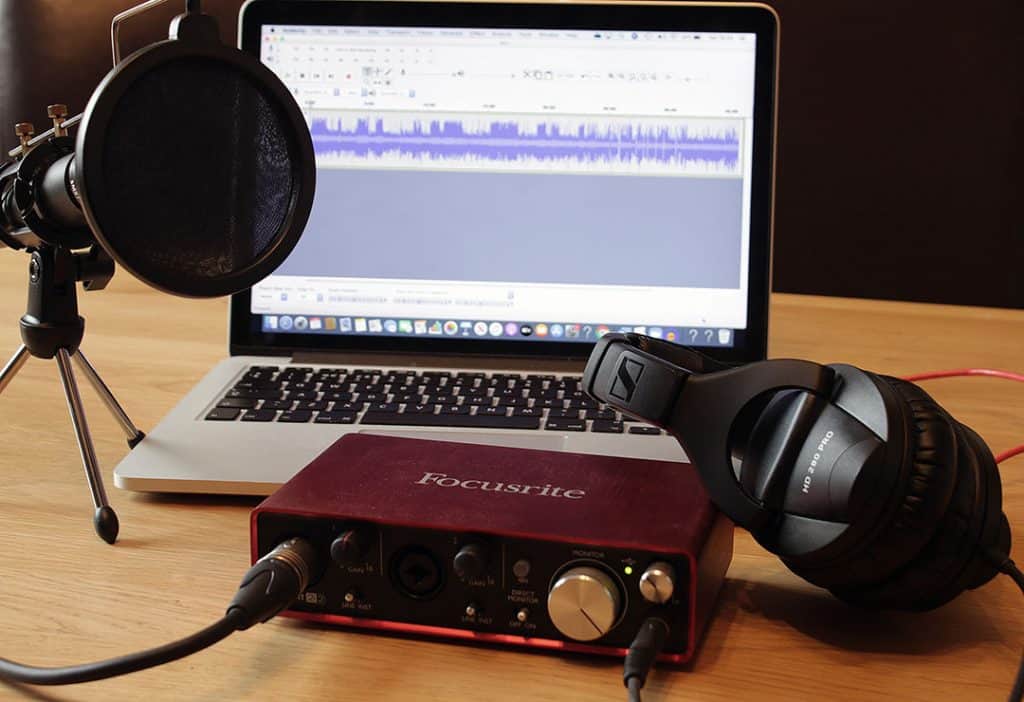
Portable recorder is a professional device designed for high-quality external sound recording in film production and broadcasting. As a rule, it can operate independently of batteries and is equipped with a symmetrical input for connecting an external microphone.
Main use in film production – for recording synchronous phonogram during the shooting of a movie, film or series.
You may also like: 7 Best vocal recording microphones
Step 2
Enable the driver setting to record multiple threads, and you will have both microphones (more precisely, 2 audio devices) in the device manager. They must work simultaneously.
To do this, we need to configure a sound card driver to independently process signals from the front and back panels. Follow these steps:
1st way:
- Click Start and select Control Panel;
- In the control panel, locate the manager of your sound card. For example, this is the Realtek HD Manager;
- In the Realtek HD Manager window that opens, click the Advanced Device Settings link;
- Select the simultaneous playback mode for the playback device. And separate all input nests for the recording device. Click OK to save the settings;
- Now we need to configure the sound card so that all the default sounds are played through the speakers. Right click on the volume control icon near the system clock and select Play Devices;
2nd way:
- You can invoke the same window by clicking the Start button on the Control Panel and clicking the Sound link;
- In the Sound window on the Play tab, which will already be opened, select the Speakers item in the list and click Default (it is the button, not the arrow to the right of it). With this action you set Speakers as the priority playback device, that is, all sounds by default will go through the speakers;
- Now select in the list item Realtek HD Audio 2nd output («secondary output», that is the output on the front panel) and press the arrow next to the default button. In the drop-down menu, select Default Communication Device. You have specified that your system should use a headset for communication ;
- Now that the default playback device is set, click OK to close the Sound window.
- Next, open Skype and enter the program settings (in the top menu click Tools and select Settings)
- In the Settings window, select Customize Sound. Here we need to select:
- as an active microphone: headset microphone connected to front
- as speakers: the headset connected again to the front panel – select the device 2nd output in the list:
P.S. If you want, you can choose a headset in Call. But in this case, you may not hear a call if you step away from the computer.
- When everything is configured, click Save to apply the settings;
You may also like: 7 Best microphones for computer recordings
Step 3
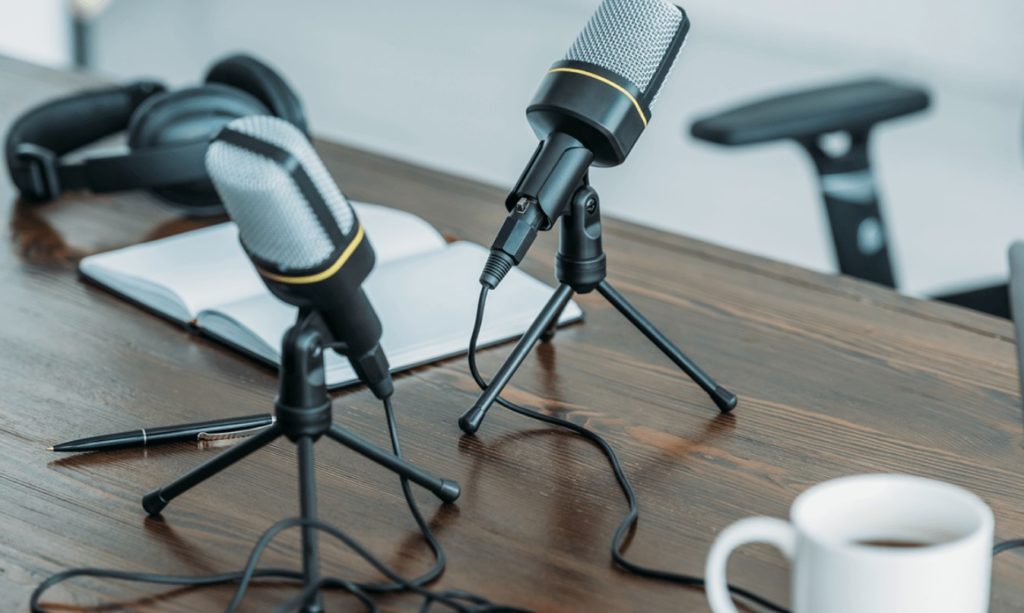
Stereo should be recorded using a stereo microphone. Technically, these are two mono microphones with a special diagram mounted together in the same case or on a common rack and often have a common cable (although not always, especially for expensive models).
This microphone connects to one connector for recording two channels at once.
In situations where it is necessary to get a wide sound picture or for sound the natural atmosphere of the recording environment is important, the ideal choice is a stereo microphone.
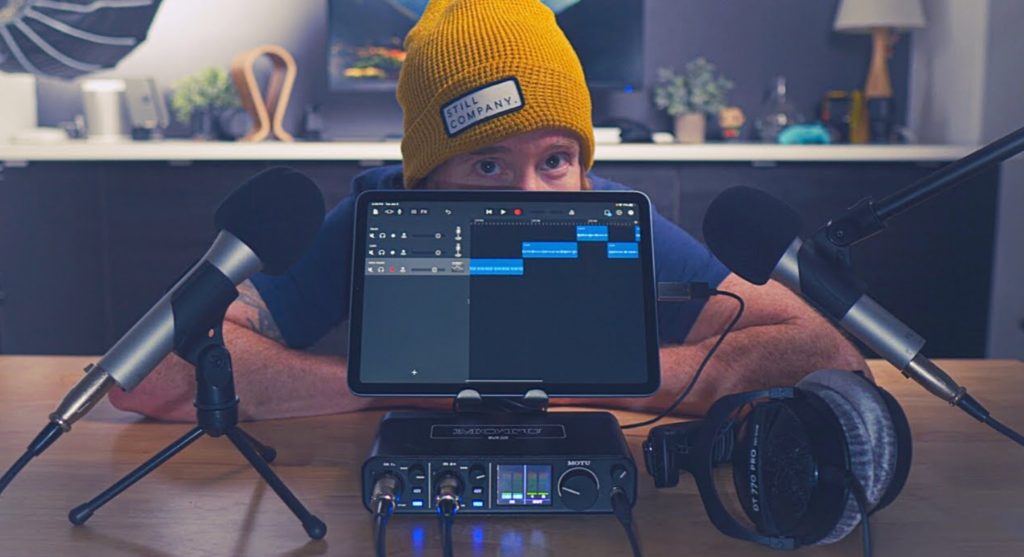
Sometimes the microphone input is monophonic – in this case, you should use either another sound card or use a microphone attenuator whose output is connected to the linear input of the sound card.
There are also inexpensive (from $50 to 200) stereo microphones that connect directly to the USB.
The stereo signal is unique in that the information in the left and right channel is different. Some data may coincide, but in general the information is different.
You may also like: 8 Best wireless microphones for events
Step 4
You can use two USB microphones. The only thing in the writing program is to select specific inputs. Reaper has to handle this.
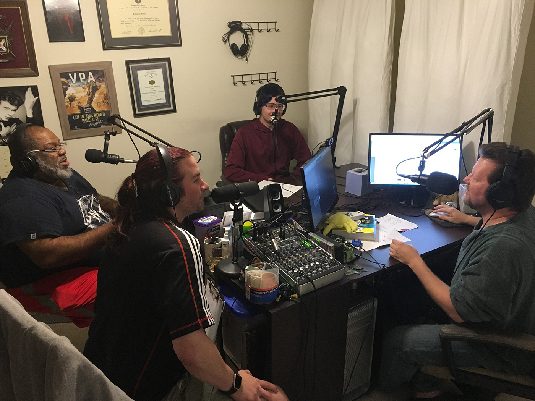
The simplest and most proven method is a simple mixer with multiple inputs for standard dynamic microphones. Connect the mixer to the linear input on the PC.
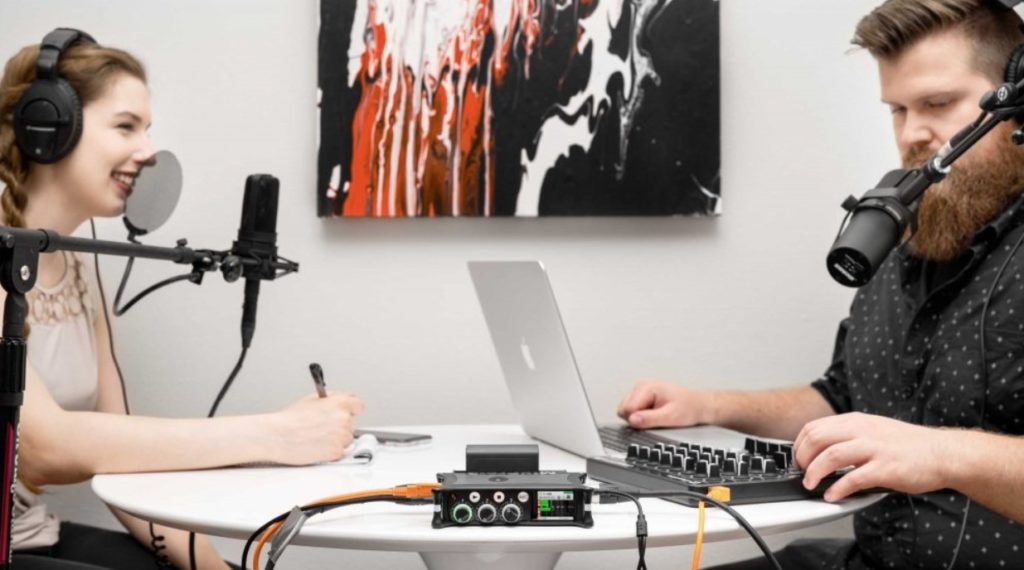
Mixing consoles are very important devices for creating a quality sound that pleases a person. The devices are used to control all sound sources at concerts, holidays, entertainment events, TV and video shooting.
The consoles are used not only by professional DJs, they are perfect for a small celebration among the closest friends and relatives.
It is difficult to work with sound without a mixer. You can use a personal computer with software installed on it. Most often you can work with Windows 7 or 10 operating systems.